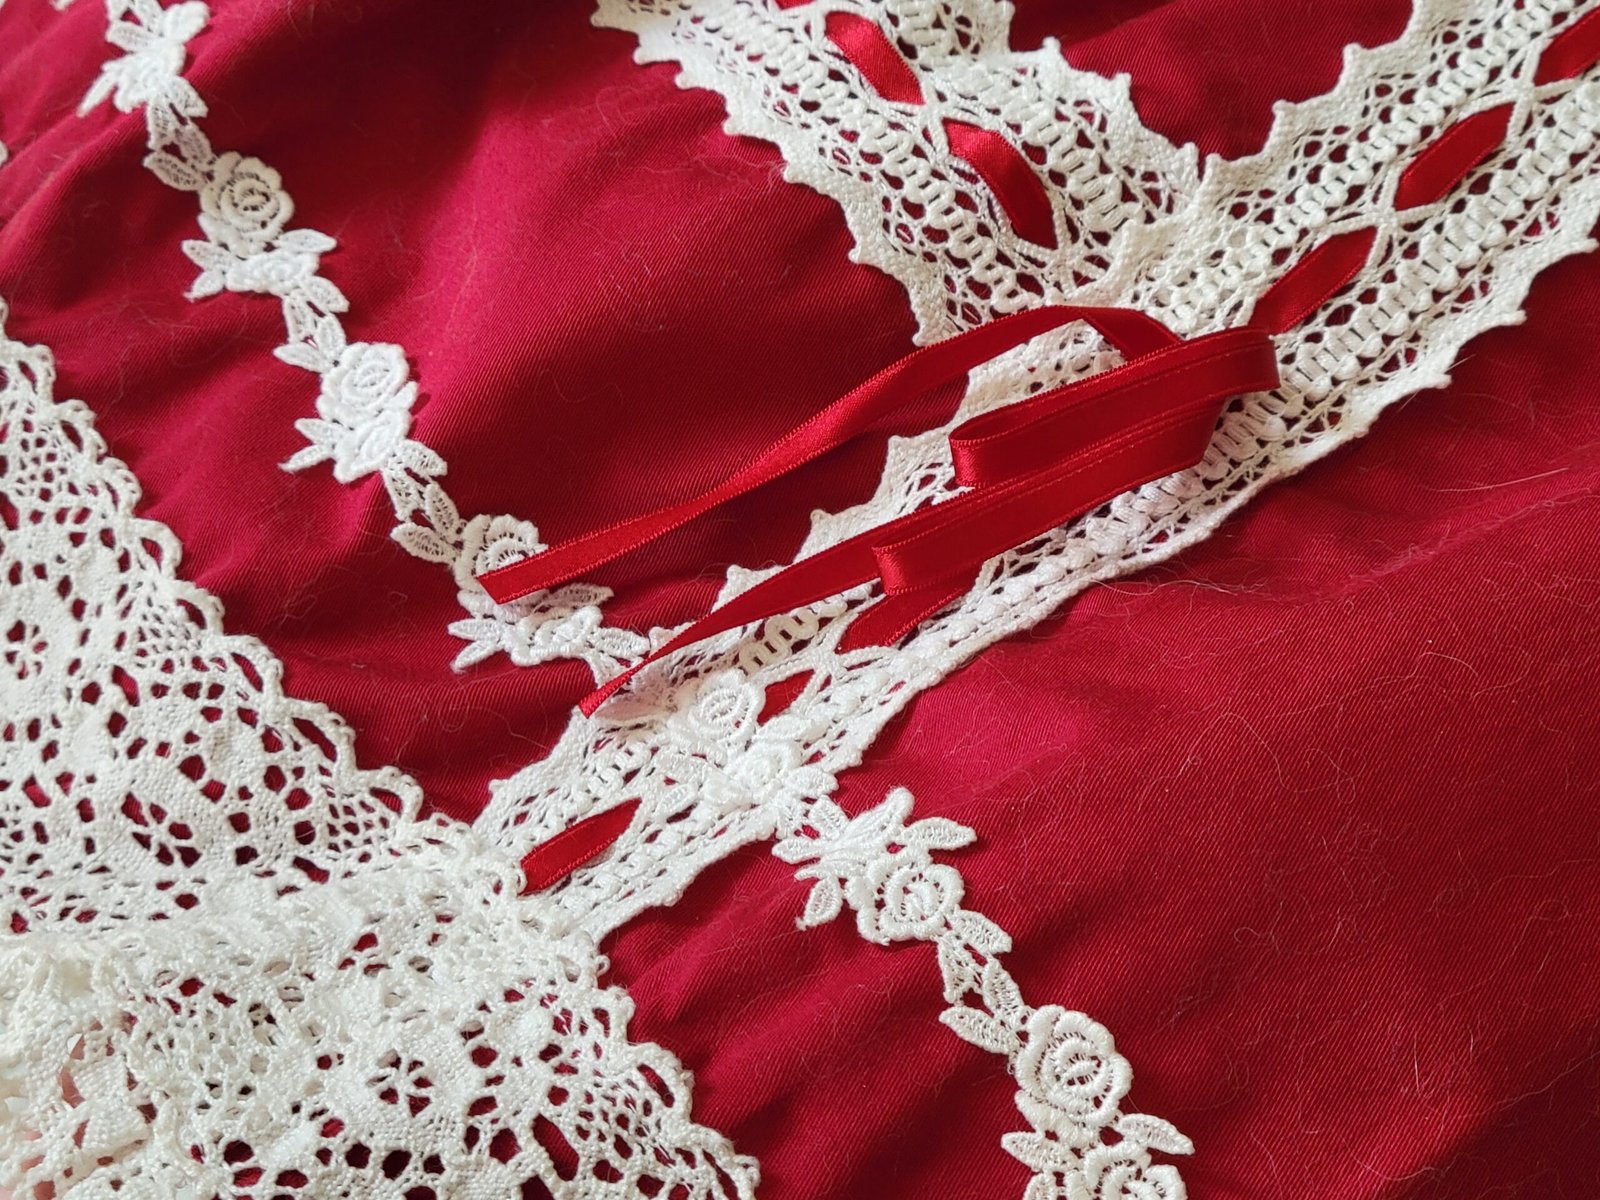
Today we are looking at this item: https://lolibrary.org/items/btssb-princess-skirt-2004

I got this skirt in…possibly 2006. Maybe 2007 at the latest, and could be as early as 2005. I was in high school, big on ideas and low on funds. Some guy I knew on the internet who had a crush on me sent me this as a gift. Apparently, his sister had bought it secondhand and it was too small for her. (TEENS: DO NOT ACCEPT BURANDO GIFTS FROM STRANGERS. IT’S WEIRD. ) He also sent me a Metamorphose hairbow that is so old, the Lolibrary listing doesn’t even have a picture — I only know it’s the correct listing from the description.
Anyway. It was tragically too small for me as well. I took some photos, felt very proud of myself for having A Brand Garment, and then proceeded to haul this skirt with me every time I moved. Which, between military parents and college and grad school and career, ended up being a lot. I thought about selling it but I just never quite got around to it, didn’t know how much to ask or where to list it, and didn’t really want to give it up anyways.
Then arrives 2022. Oldschool is back in style, baby, and I’m wearing real lolita again. I’ve even bought a BTSSB jumperskirt secondhand, and the Unwearability of this skirt weighs on me. It haunts my closet. The lace is gorgeous, but it’s at least 3″ smaller than my waist, and that’s a huge gap.

But then I remembered that once upon a time, I was going to sew a lolita dress out of velvet with a red and white apron. And the red fabric of the apron, which was the only piece I ever completed, was chosen to match this skirt. And didn’t I have some left over?

Friends, I did. I did have fabric left over. And it did match. And so in February 2022, I got up close and personal with this skirt, and swapped out the waistband to provide additional shirring. Here are photos from that process as well as a description of the overall construction of the skirt.


In summary:
The skirt is made in 2 parts, 50/50 front panel and back panel. Side seams at exact sides. Invisible zipper in one side seam with button* closure tab on waistband. The skirt is fully lined in a dark red synthetic lining with a small amount of built-in petticoat poof of white tulle.
Front panel is a decorated rectangle skirt panel. I’d guess that the vertical ladder lace is actually applied fully perpendicular to the hem and relies on the gathering to create the slight / \ effect.
Back panel: 3 main pieces – two red overlayer pieces + one white. The two red pieces and white piece are treated as one at the top of the waistband for the purposes of gathering and attachment. The two red pieces are mirror images, each roughly a quarter circle with a curved hem. They are quite solid — the wide white lace is fully backed by red fabric with only a small (~1.5cm) piece of lace trim actually on the edge.
The white bustle back panel extends the full width of the skirt. It is tiered in construction with additional ruffles applied both on top of flat fabric and at seams. The bottom ruffle extends directly as the bottom tier, there is no additional white backing layer underneath the bottom ruffle. The white panel was slightly gathered, then attached to the lining layer. The lining/white were then gathered a little more, and attached to the red overlayers. The whole thing was then gathered just a little bit more for attaching to the waistband.
My modified waistband is interfaced cotton in the closest color match I could find. The portion, about 1/4 of the whole waistband circumference, is shirred to add additional stretch. It now fits my 27″ / 72cm waist comfortably, and likely could go up another inch or so.
However…I held onto it for 16 years without being able to wear it. I don’t think I’ll let it go for at least that long now that I can finally wear it!

Leave a Reply